

Hiking the Skyline Trail in Mount Rainier National Park
Mount Rainier is one of my favorite national parks. Pictures just can’t capture how epic the mountain is. I love how you can see it from so far away because of how massive it is. This trip would allow us to hike the Skyline Trail, a hike I hadn’t completed before.
On our recent trip to Washington in late September, the weather was a little rainy while we were at Rainier. Originally, the weather was forecasted to rain the entire two days we were going to be in the park. However, when we woke up in Seattle the morning we were supposed to drive there, the rain wasn’t supposed to start until 5pm! We decided to get going early and get one hike in before the rain started.
We rented a car from the Seattle-Tacoma airport for the two days we were gone. This was an easy process: we took the light rail back to the airport and an airport shuttle to the rental car center. It ended up taking about 1.5 hours from leaving the hotel until we got our car.
The Paradise Inn (the only restaurant in the Paradise area) was closed for the season, so we needed to pick up food for lunch on the way. We stopped at Subway about 45 minutes away from the park, which was the closest sandwich place we could find.
Trail Info
The Skyline Trail is one of the most popular trails in the park. You can hike the loop in either direction. If you want to get the hard, uphill walk over with quickly, hike the loop in a clockwise direction. If you want to enjoy the view of Mount Rainier for a longer period of time, hike it counter-clockwise. We chose to go counter-clockwise.
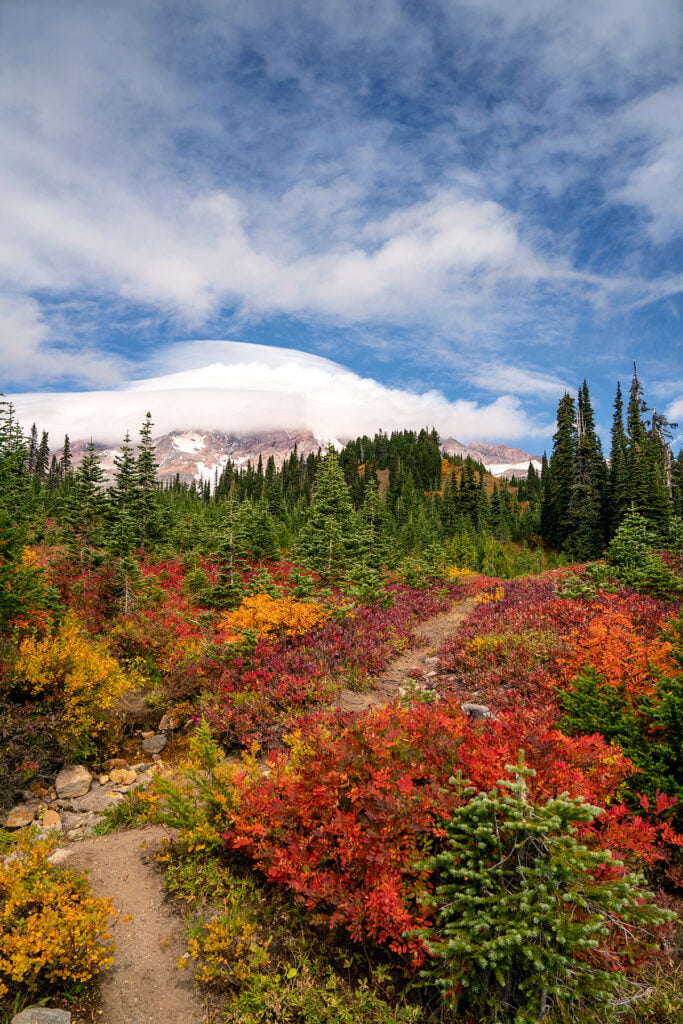
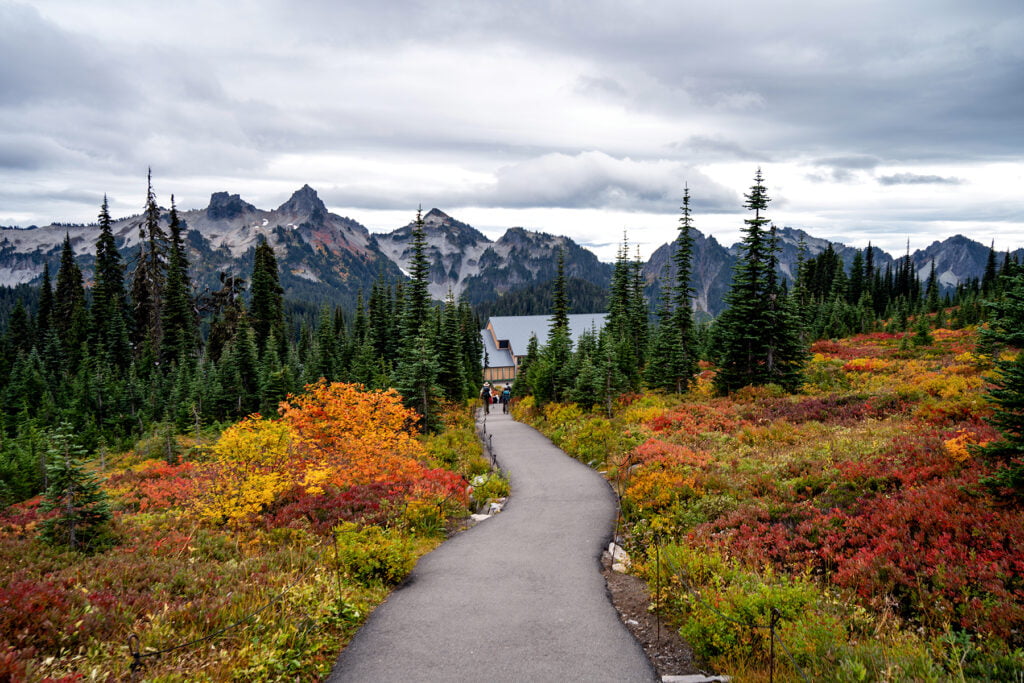
When we arrived at the park, clouds were completely covering Rainier. I had high hopes that the clouds would part and we’d be able to see the mountain at least part of the time. The trail starts and ends in Paradise behind the Visitor Center.
Length: 6.2 mile loop
Elevation gain: 1450 feet
Time: it took us about 3 hours with a couple of short stops
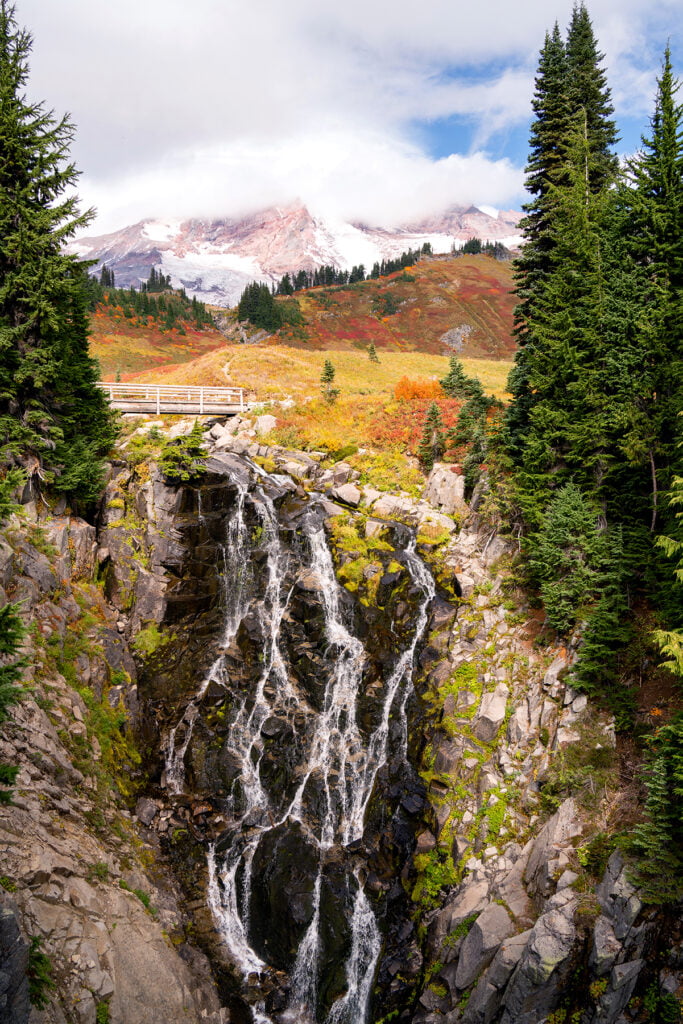
Section 1: Visitor Center to Myrtle Falls
Length: 0.7 miles
Elevation Gain: 150 feet
This is the easiest section and is paved to accommodate more visitors that want to see Myrtle Falls. It is fairly flat. I was completely in awe at how vibrant the gorgeous fall colors were throughout this section. This made up for not being able to see Rainier! Myrtle Falls is a lovely waterfall that would typically have a perfect background of the mountain. It is definitely worth checking this section out, even if you don’t do the whole loop.


Section 2: Myrtle Falls to Stevens-Van Trump Historical Monument
Length: 1.5 miles
Elevation Gain: 450 feet
From Myrtle Falls, you can take a shortcut (the Golden Gate Trail, shorter but much steeper), or you can continue on the Skyline Trail, which is what we did. The second section starts to climb a bit more elevation but is still very moderate. Even though Rainier was covered by clouds, the views of the surrounding mountains were gorgeous. We stopped at some rocks along this section to sit and eat our sandwiches. Eventually you will reach the Stevens-Van Trump Historical Monument, which commemorates the first documented ascent of Mount Rainier in 1870.


Section 3: Stevens-Van Trump Historical Monument to Panorama Point
Length: 1.8 miles
Elevation Gain: 850 feet
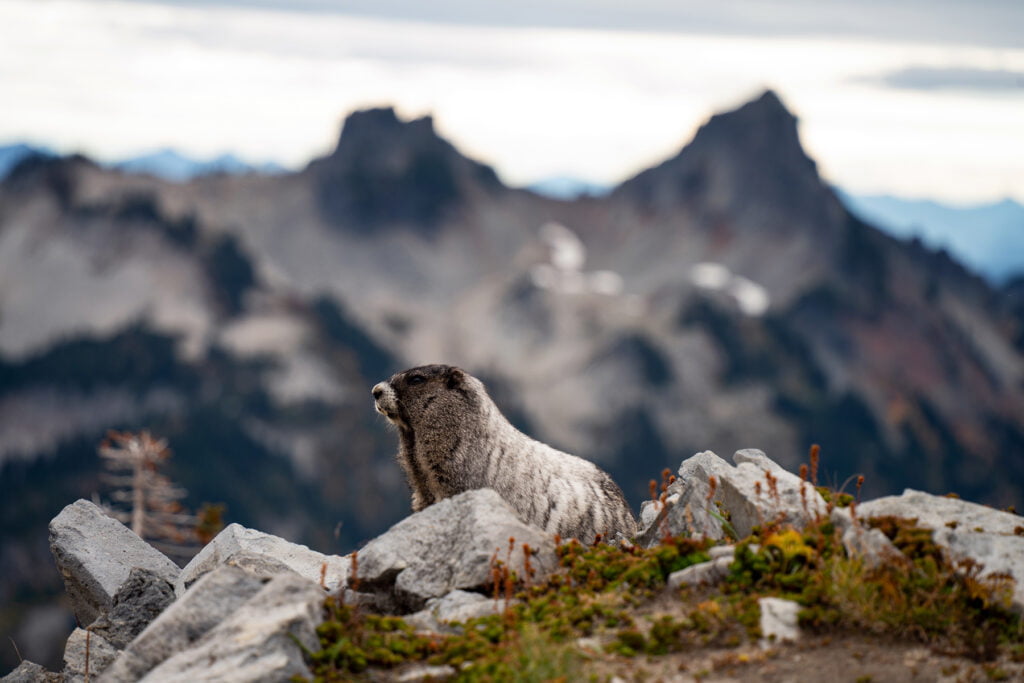
This is the most difficult section if you’re going in the counter-clockwise direction. The trail really climbs as you get closer to Rainier. We also saw several marmots in this area.


In the last stretch leading up to Panorama Point, the cloud surrounding Rainier let loose and steadily rained and sleeted on us for about 20 minutes. It dropped at least 15 degrees in temperature as well, making this part super miserable. Someone in passing pointed out a mountain goat down the mountain a little, but we were too soggy to pause and take any pictures. The rain stopped as we turned away from the mountain towards Panorama Point.


Panorama Point was beautiful and worth stopping at for a little while. The point was accurately named, as you can see out in every direction. I did see there were pit toilets just past here if you need a bathroom break.

Section 4: Panorama Point to Visitor Center
Length: 2.2 miles
Elevation Gain: -1450 feet
The last section descends steeply and passes the Nisqually Glacier. There is a short glacier vista you can opt to take to see the glacier up close. However, we were soaked and frozen and just wanted to get back to the car at that point. We booked it as quickly as we could back to the Visitor Center where we stopped at the bathrooms again before heading out.


Our second day was rainy and cold, so we decided to head back to the Seattle area instead for our flight home the next day.
This trail was still very pretty, even without being able to see Mount Rainier! I’d definitely recommend the Skyline Trail!

You may also be interested in:
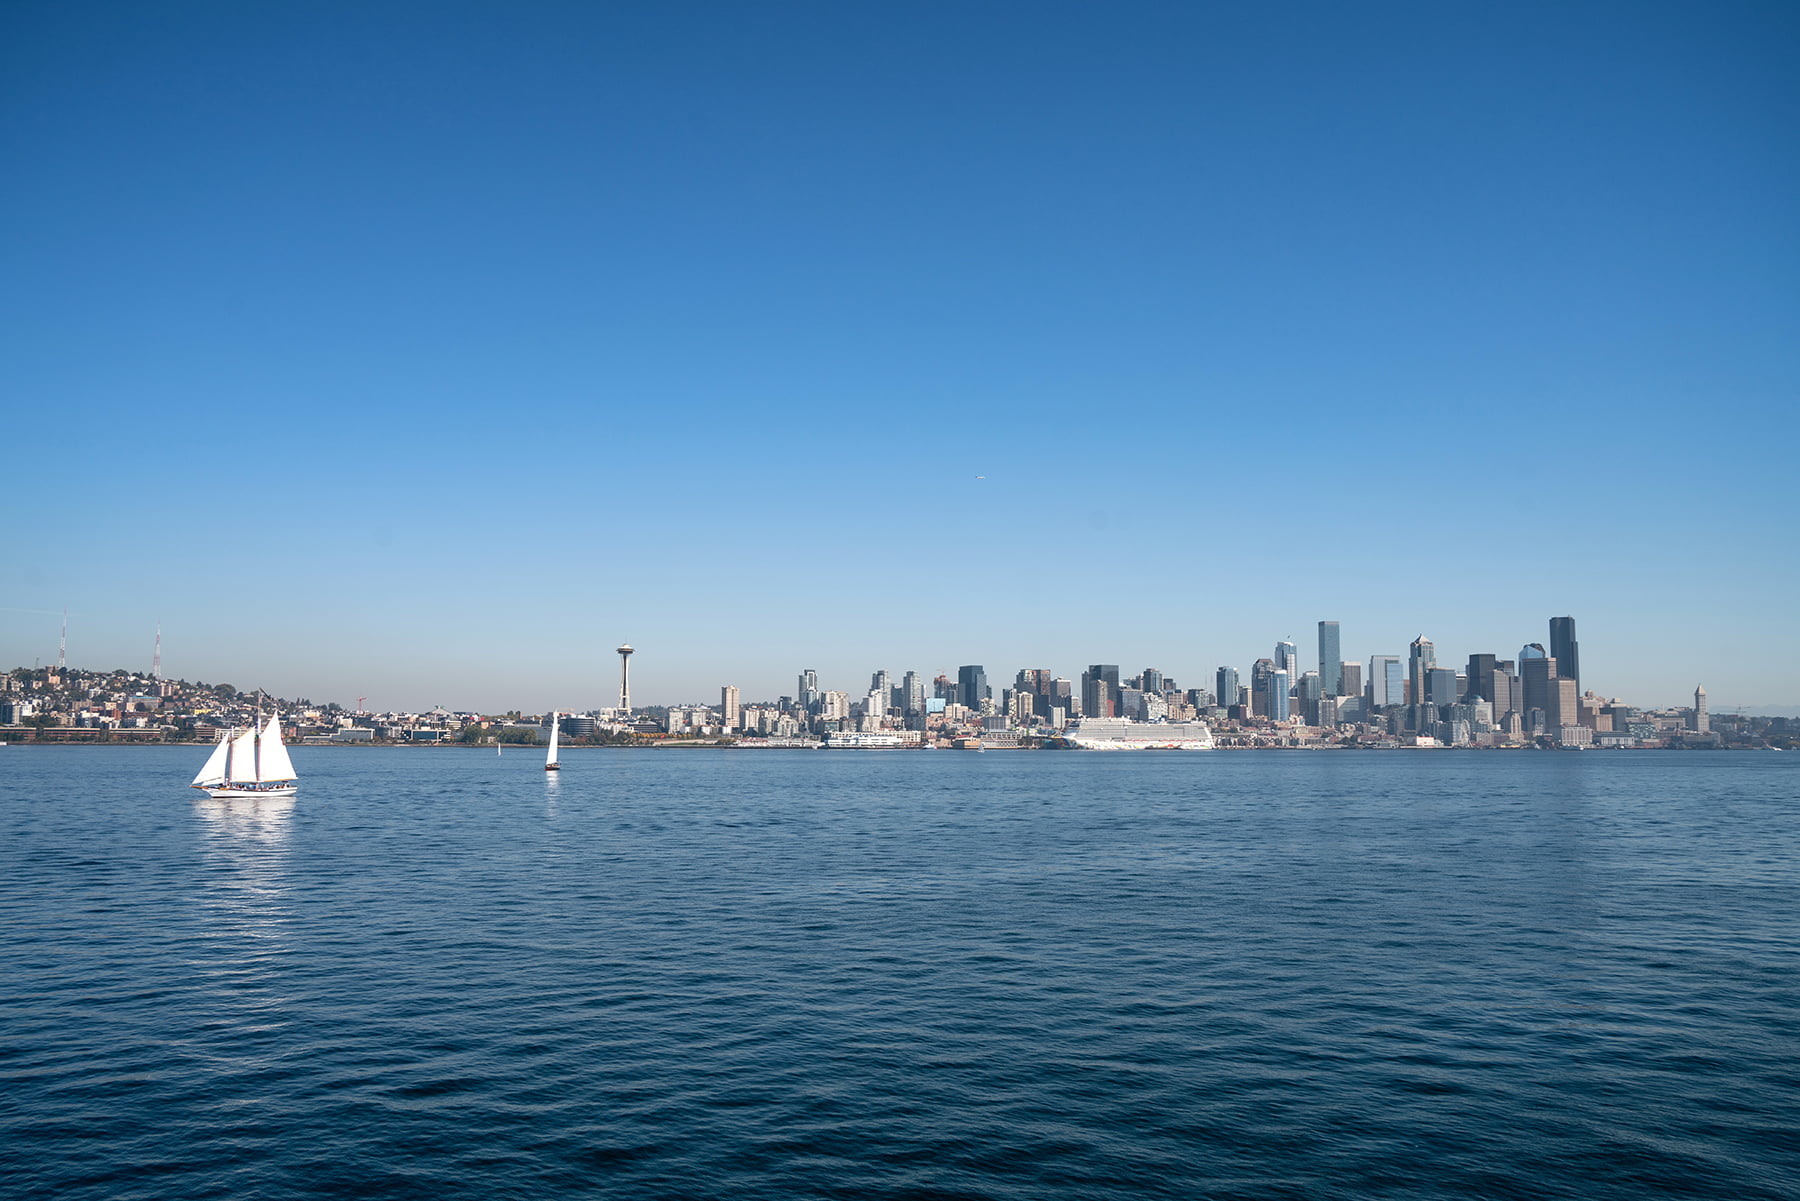
Two Days in Seattle
Hiking Mount Fremont Lookout in Mount Rainier National Park
Discover more from Young Wayfarer
Subscribe to get the latest posts sent to your email.
Oakes
OK, this is really cool. I want to go!
Melissa
I recommend it!